Documentation
How to use Church Presenter
A complete guide to every tab and feature in Church Presenter — from adding your first Bible to running a full live service.
Overview
Church Presenter is organised around a set of tabs in the left panel of the application. Each tab holds a different type of content you can present on your projection screens.
- Bible — look up and display Scripture passages
- Songs — manage and display your song library
- Presentations — photo albums and slideshow files such as Keynote and PowerPoint
- Videos — play local or remote video files
- Lower Thirds — overlay text graphics on the screen
- Announcements — display announcement slides and countdowns
In addition to content tabs, the Schedule panel lets you plan a full service in advance, and Settings controls screens, backgrounds, fonts, and the mobile API.
Bible Tab
The Bible tab gives you fast access to any passage across one or two Bible versions simultaneously. Verses are sent to the projection screen one click at a time.
Bible Tab screenshot placeholder
Add a screenshot later if you want to show the Bible tab layout.
Adding a Bible version
- Open Settings → Storage.
- Choose an external folder where your Bible files will be stored.
- Place your .bible or compatible Bible data files into that folder.
- Restart Church Presenter so the new Bible versions appear in the Bible tab dropdowns.
Searching for a passage
- Click the Bible tab in the left panel.
- Start typing a book name in the search box. You can type in the current app language or in the language of the selected Bible version.
- Select the book, then enter the chapter and verse numbers.
- To select multiple verses, hold Shift and click the last verse you want.
Sending verses to the screen
- Select the verse or verses you want to display in the verse list.
- Click Show, or double-click a verse, to send it live immediately.
- Use Hide or press Escape to blank the screen.
Two-Bible display
- Enable the second Bible using the toggle or the second version dropdown.
- Select a different Bible version in the second dropdown.
- Both versions are displayed side by side on the projection screen.
- Use Swap to quickly exchange the primary and secondary versions.
Two-Bible output placeholder
Add a screenshot later if you want to show the dual Bible output.
Customising Bible screen appearance
Go to Settings → Bible Screen to change fonts, colours, text alignment, position zones, display type, and transition animations.
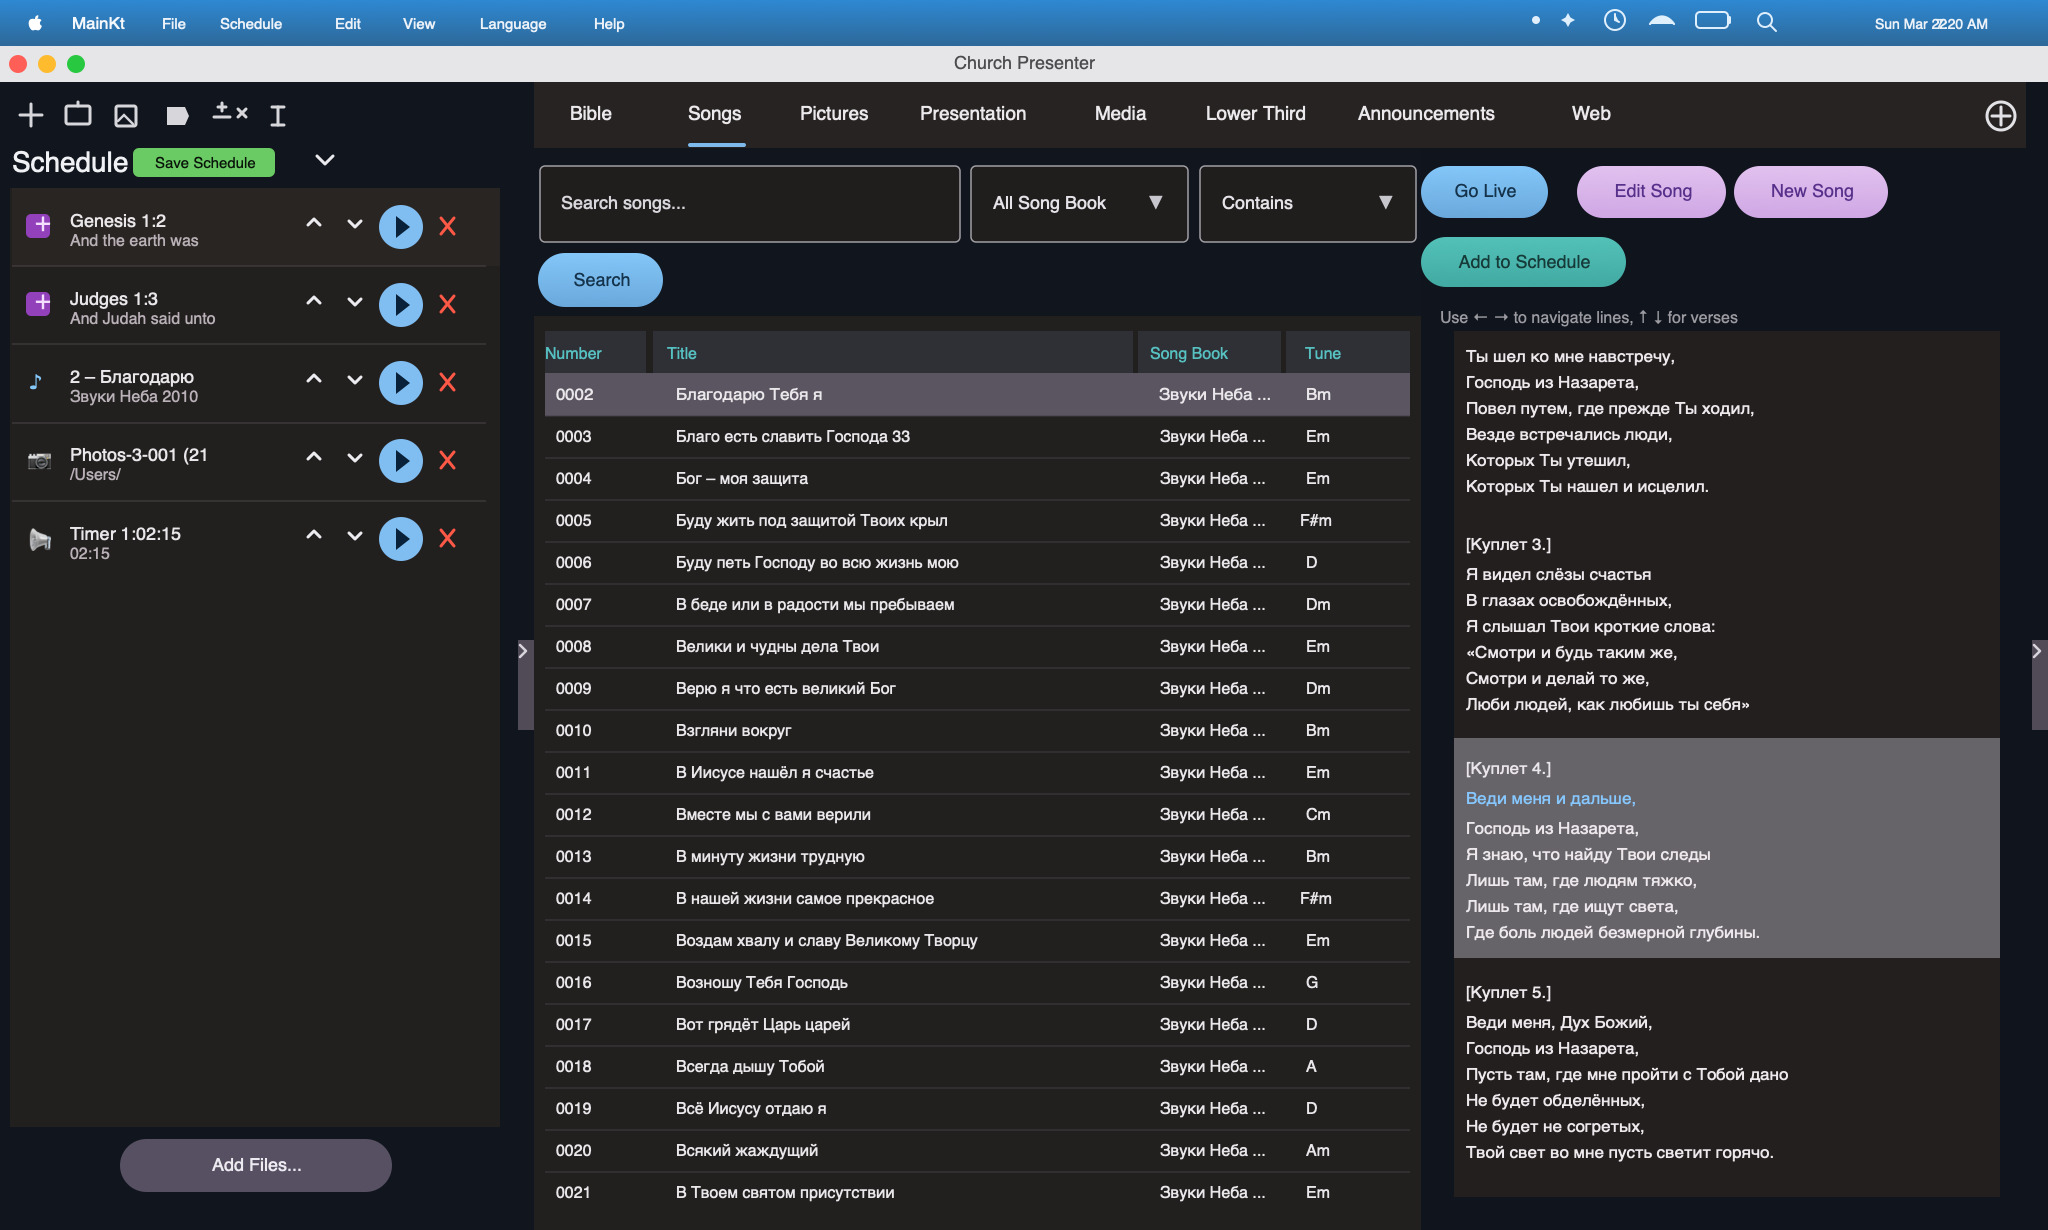
Songs Tab
The Songs tab contains your congregation's entire song library. You can add, edit, and search songs, then send individual sections live during worship.
Songs tab screenshot placeholder
Add a screenshot later if you want to show the Songs tab layout.
Adding a new song
- Click the Songs tab in the left panel.
- Click the plus button or Add Song in the toolbar.
- Fill in the song title and, optionally, a song number and book name.
- Type or paste your lyrics and separate sections such as Verse, Chorus, and Bridge on their own lines.
- Add a second translation if needed.
- Click Save.
Importing songs from SoftProjector
- Go to Settings → Import or use the Import button in the Songs toolbar.
- Select your existing SoftProjector database file.
- Choose which songs to import and confirm.
Searching and filtering songs
Use the search box at the top of the Songs tab to filter by:
- Song title
- Song number
- Book name
- Lyric content
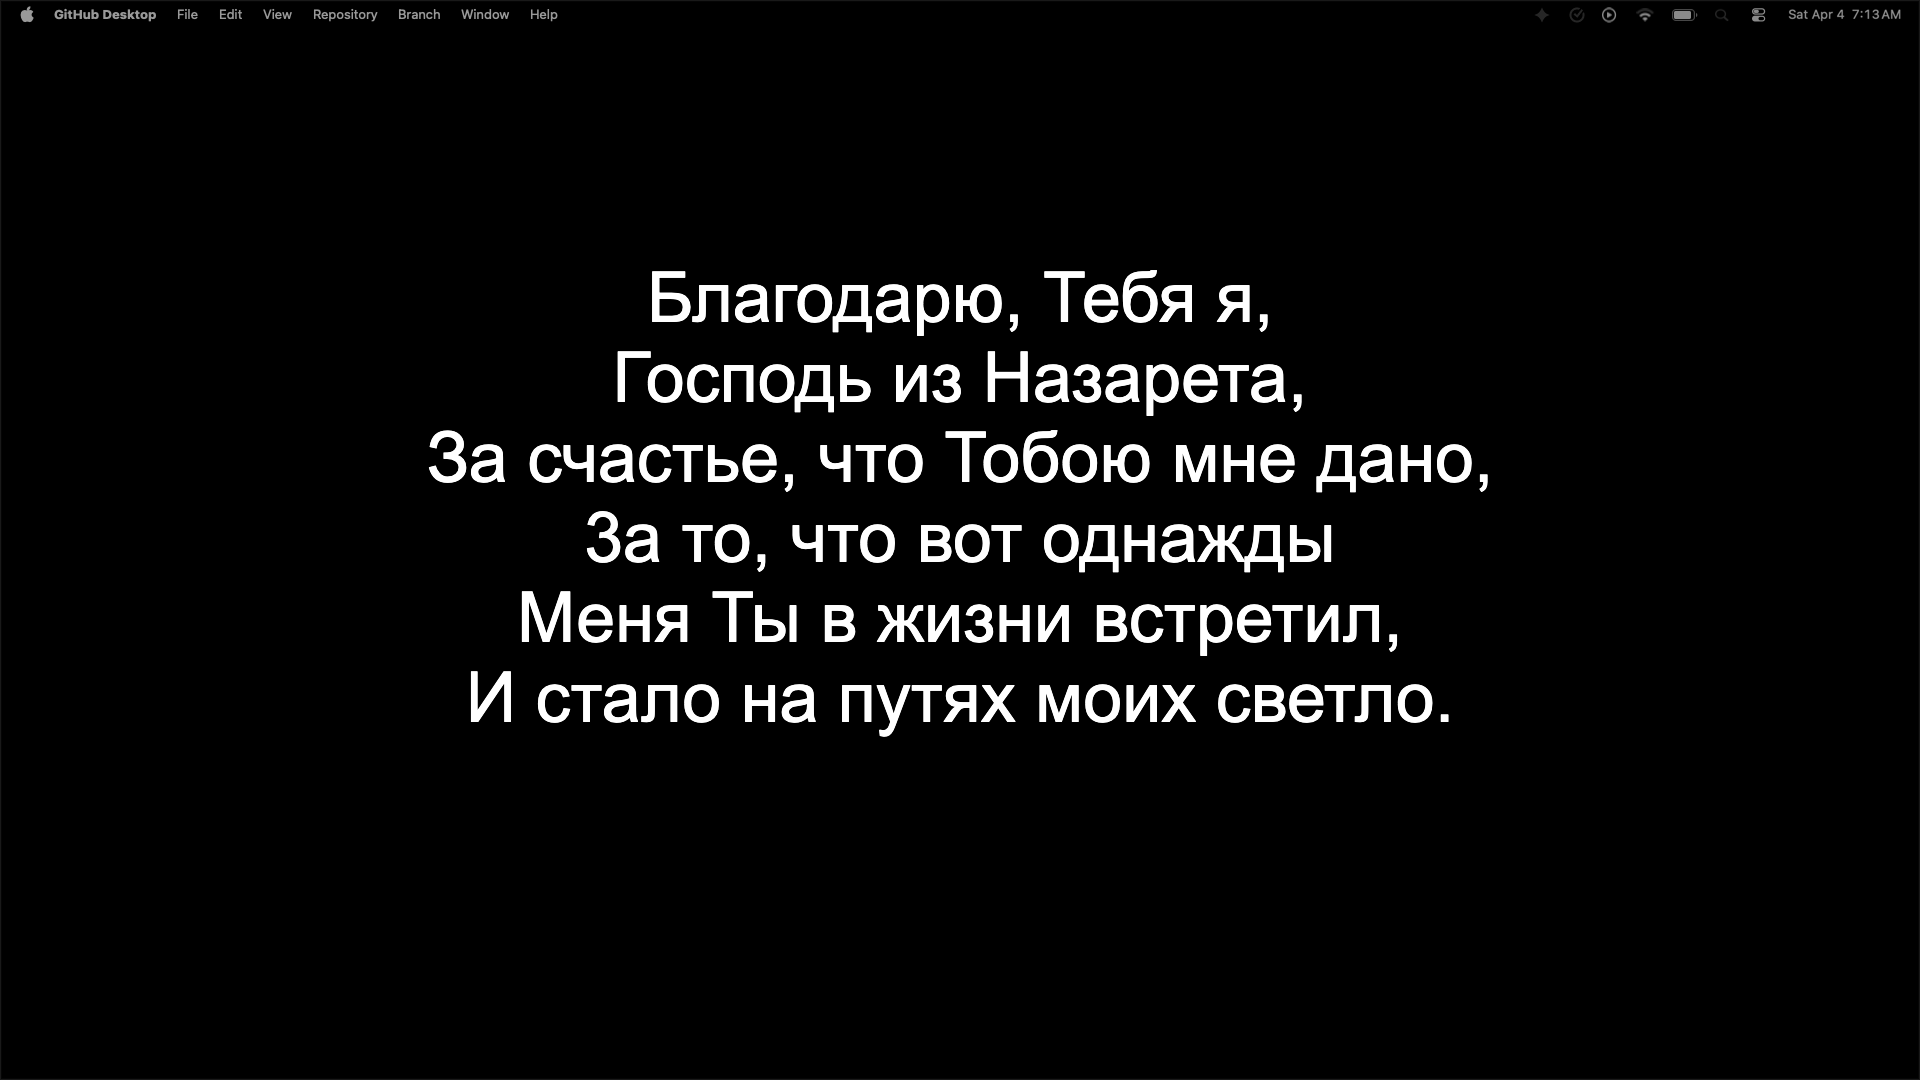
Presenting a song
- Find the song in the list and click it to load its sections.
- Click any section such as Verse 1 or Chorus to send it live.
- Advance through sections with the arrow keys or by clicking each section.
- Click Hide or press Escape to blank the screen.
Customising song screen appearance
Go to Settings → Song Screen to customise fonts, colours, alignment, display mode, and whether to show one translation, two translations, or both together.
Presentations Tab
The Presentations tab lets you show photo albums or Keynote and PowerPoint slide decks on the projection screen.
Presentations tab screenshot placeholder
Add a screenshot later if you want to show the Presentations tab layout.
Adding a photo album
- Click the Presentations tab.
- Click Add Album and give it a name.
- Use the plus button to add image files.
- Drag images to reorder them or delete images you no longer need.
Adding a Keynote or PowerPoint file
- Click the Presentations tab.
- Click Add Presentation and browse to your .key or .pptx file.
- The file is linked and Church Presenter opens it in the background when you present it.
Presenting slides
- Select an album or presentation file in the list.
- Click a slide thumbnail to send it live or use the arrow keys to advance.
- Enable Auto-loop to cycle through slides automatically if needed.
Videos Tab
Play video files directly through Church Presenter during a service.
Videos tab screenshot placeholder
Add a screenshot later if you want to show the Videos tab layout.
Playing a local video
- Click the Videos tab.
- Click Add Video and select a file from your computer.
- Select the video in the list and click Play.
- Use the playback controls in the operator panel.
Playing a remote video
- Click Add Remote Video.
- Enter the URL or network path of the video file.
- Church Presenter streams the file to the presentation output.
Lower Thirds Tab
Lower thirds are text overlays that appear at the bottom of the projection screen and are useful for speaker names, song titles, and Scripture references.
Lower thirds screenshot placeholder
Add a screenshot later if you want to show the Lower Thirds tab layout.
Creating a lower third
- Click the Lower Thirds tab.
- Click Add Lower Third.
- Choose one of the available layout types.
- Fill in the primary and optional secondary text.
- Use the Preview panel to check the result.
- Click Show to overlay it on the current live output.
Announcements Tab
The Announcements tab lets you display styled text slides before or during a service, with optional countdown timers.
Announcements screenshot placeholder
Add a screenshot later if you want to show the Announcements tab layout.
Creating an announcement slide
- Click the Announcements tab.
- Click Add Announcement.
- Enter the title and body text and adjust the formatting if needed.
- Click Save.
Adding a countdown timer
- Select an announcement and enable Countdown.
- Set the duration in minutes and seconds.
- When you send the announcement live, the timer counts down automatically.
- Use countdowns for pre-service slides or break periods.
Presenting announcements
- Select an announcement in the list.
- Click Show or add it to the Schedule for a planned service.
Schedule
The Schedule panel lets you plan an entire service in advance. Add items in order and work through them during the service with a single click.
Schedule screenshot placeholder
Add a screenshot later if you want to show the Schedule panel.
Building a schedule
- Open the Schedule panel.
- From any content tab, select an item and click Add to Schedule.
- Drag and drop items to reorder them.
- Delete items you no longer need.
Running a scheduled service
- Click an item in the schedule to jump to it in its tab.
- Double-click an item to send it directly to the screen.
- Use the up and down controls to move through the service order.
Hiding and showing the schedule panel
Use the Schedule toggle to hide the panel when you need more space for the content tabs, then show it again when you are ready.
Exporting and importing schedules
- Use File → Export Schedule to save the schedule to a file.
- Use File → Import Schedule to open a previously exported schedule.
- Imported schedules restore linked songs, Bible passages, and other items automatically.
Settings
Access Settings from the toolbar or the application menu. Settings are organised into several categories.
Screens
Under Settings → Screens you can configure each connected display:
- Assign a display as the main output or a secondary output.
- Set the output mode to full-screen presentation or lower-third-only.
- Mirror outputs or send different content to different screens simultaneously.
Backgrounds
Under Settings → Backgrounds you can choose default backgrounds for Bible and song screens:
- Solid colour
- Image
- Looping video
You can set separate backgrounds for the Bible screen and the Song screen.
Bible Screen and Song Screen
Fine-tune fonts, colours, alignment, position zones, display modes, and transition animations independently for Bible and Song content.
Screen settings screenshot placeholder
Add a screenshot later if you want to show Bible or Song screen settings.
Storage
Under Settings → Storage, set an external folder for your Bibles and song books so your data survives app upgrades.
Mobile API
Under Settings → API you can enable the built-in server so mobile devices can connect:
- Set the port the server listens on.
- Create API keys for mobile devices.
- Configure allow and block rules for devices.
- Connect the Church Presenter mobile app over your local network.
Theme
Church Presenter supports Light and Dark themes, with an Auto option that follows your system theme.
Web Tab
The Web tab lets you display any website URL on the projection screen so the audience can visit it directly. Position and styling controls let you place it anywhere on screen.
Displaying a website URL
- Click the Web tab in the left panel.
- Enter the website URL in the address field.
- Adjust the position and text style settings as needed.
- Click Show to display it on the projection screen.
- Click Hide or press Escape to remove it from the screen.
Showing the URL as a QR code
Enable the QR code option to generate a scannable code for the URL alongside or instead of the plain text. Audience members scan it with their phone camera to open the page directly without typing the address.
Canvas Tab
The Canvas tab provides a free-form drawing area for building custom layouts, graphics, and presentation frames for ministry or event requirements that don't fit standard templates.
Creating a canvas layout
- Click the Canvas tab in the left panel.
- Use the available tools to add text, shapes, and images to the canvas.
- Arrange and resize elements to build your layout.
- Click Show to send the canvas to the projection screen.
- Click Hide or press Escape to clear the screen.
Q&A Tab
The Q&A tab lets you run live question-and-answer sessions during conferences or events. Audience members submit and vote on questions through the Church Presenter mobile app, and you moderate from the admin panel.
Starting a Q&A session
- Click the Q&A tab in the left panel.
- Enable the session to open it for audience submissions.
- Audience members connect through the Church Presenter mobile app and submit questions.
- Use the admin panel to approve, hide, or highlight questions.
- Click Show on a question to display it on the projection screen.
How audience voting works
Every submitted question shows up and down vote buttons for all connected audience members. Questions are ranked automatically by net upvotes, so the most popular questions rise to the top of the admin queue. Moderators always have final control — a question only appears on the projection screen after it is explicitly approved and shown.
Moderating questions
- Questions appear in the admin panel sorted by net upvote count.
- Up and down votes update in real time as audience members vote.
- Approve or reject incoming questions before they appear on screen.
- Click Hide to remove the currently displayed question from the screen.
- The admin panel is also accessible from the Church Presenter mobile app, so a second moderator can approve questions from the floor without being at the operator computer.
Local network vs public access (Cloudflare Tunnel)
By default the Q&A server is reachable only on the same local Wi-Fi network as the Church Presenter desktop. For events where attendees use mobile data or a separate network, enable Cloudflare Tunnel in Settings → API. Church Presenter generates a secure public HTTPS URL that works over the internet with no port-forwarding required. Share that URL (or its QR code) with the audience and they can submit questions from any network.
Password-protecting the moderator panel
Set a moderator password in Settings → API to restrict access to the Q&A admin panel. Anyone who opens the admin URL must enter the password before they can approve or reject questions. Audience members can still submit and vote on questions without a password.
STT — Speech-to-Text
The STT tab transcribes spoken audio to text in real time using Whisper-based machine learning and displays live captions on the projection screen. Captions can optionally be translated to another language before display.
Setting up speech-to-text
- Open the STT tab in the left panel.
- Select your microphone from the device list.
- Choose the source language of the speaker.
- Optionally enable translation and select the target display language.
- Click Start to begin live transcription.
Displaying captions live
- Once transcription is running, captions appear in the STT panel.
- Click Show to send the current caption to the projection screen.
- Enable Auto-show to automatically push each new caption live as it is transcribed.
- Click Hide or Stop to end caption display.
Mobile App
The Church Presenter mobile app lets you control the desktop presentation from your iOS or Android device over your local Wi-Fi network.
Requirements
iOS
- OS version: iOS 16.0 or later
- Architecture: arm64 (iPhone 8 or later)
- Storage: ~50 MB
- Network: Wi-Fi on the same local network as the Church Presenter desktop
Android
- OS version: Android 7.0 (API 24) or later
- Architecture: arm64-v8a, armeabi-v7a, x86_64
- Storage: ~50 MB
- Network: Wi-Fi on the same local network as the Church Presenter desktop
Connecting the mobile app
- Go to Settings → API and enable the server.
- Note the server address and port shown in Settings → API.
- Install the Church Presenter mobile app from the App Store (iOS) or Google Play (Android).
- Open the mobile app and enter the server address.
- Create or copy an API key in Settings → API and enter it in the mobile app when prompted.